Aniimo Best Team: Three Comps You Can Copy Right Now
Aniimo best team guide: the four roles every squad needs, three ready-to-copy lineups with substitutes, and how to build for Operation Egg Heist runs.
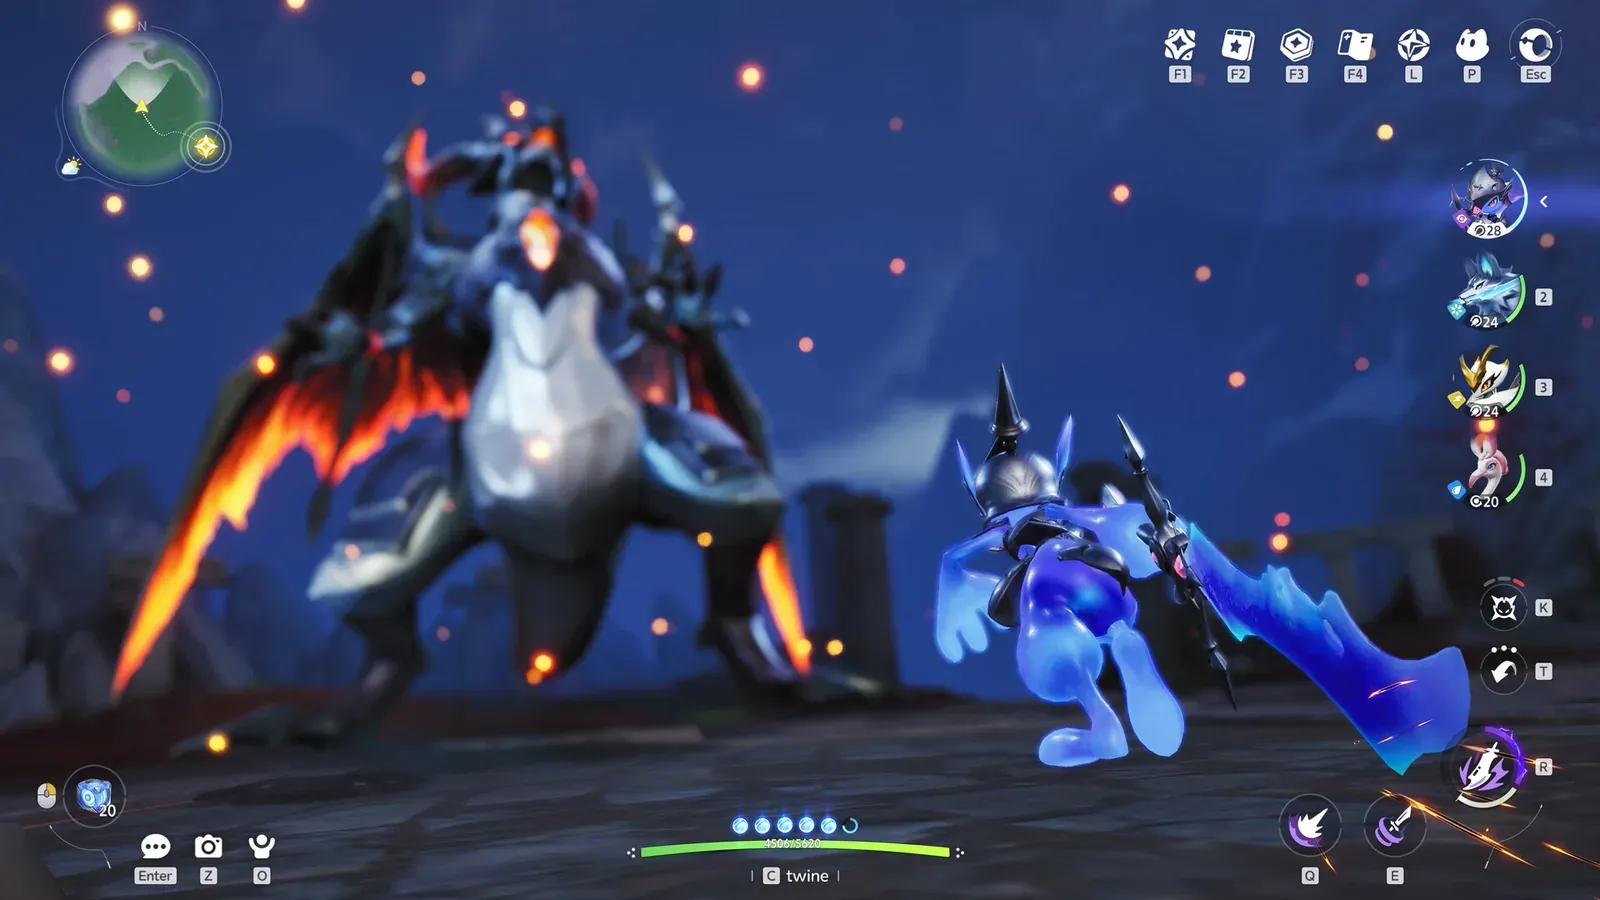
How do you build a team in Aniimo?
An Aniimo squad is four creatures with four jobs, and the fastest way to a working team is to fill the jobs rather than stack the strongest names. Aim for one damage dealer, one Break unit, one unit that returns EP, and one healer, then swap the healer for a buffer once your DPS can self-sustain. Stacking damage dealers starves the team of EP and lowers total output; stacking supports drags every fight out.
Two systems do most of the work here. Break reduces an enemy’s break gauge, and a broken enemy takes a hard damage window, so a Break unit effectively multiplies your DPS. EP is the resource every skill spends, so a Regen unit that returns EP lets the rest of the team cast more often. A team with one of each beats a team with four high-stat attackers in almost every boss fight.
You will also want several saved squads rather than one. Press H on PC, or hold Triangle or Y and press L1 on console, to open your presets and swap teams on the fly.
[!tip] One rota, three teams Build a core of Rookey, Somniwing and a healer once. Those three are element-agnostic, so you only need to raise a new damage dealer and a new break option per element.
What does each team slot actually do?
| Slot | Job in the fight | What to look for | Element-locked? |
|---|---|---|---|
| DPS | Consumes the break window | High base Attack, cheap crit or damage buff, range that fits the boss | Usually, but Lunara and Helion work anywhere |
| Break | Opens the damage window | Fast gauge reduction and a Break stat that scales with something you have | No, if you use Rookey |
| Support | Buffs damage, break or survivability | A party-wide buff at low EP cost with little field time | Rarely, if you use Turbo |
| Regen | Returns EP so skills keep firing | Passive or repeatable EP recovery with no downtime | No, if you use Somniwing or Besauce |
| Heal | Keeps the run alive | Off-field healing, shields, or a debuff cleanse | Partly, but Prismana Glacy travels |
The four-slot limit is what makes the roles matter. You cannot bring a second dedicated DPS and keep Break, Regen and Heal, so pick damage dealers whose kits already carry one of the other three jobs. Lunara and Helion are the clearest examples: they are DPS units that also provide utility through their skills, which is why the starter you picked is still relevant at level 60.
Team 1: the starter Light squad you can build today
This is the first real team most accounts can assemble, and it is the one to copy if you have not finished the story.
| Slot | Pick | Substitute | Why it works |
|---|---|---|---|
| DPS | Lunara or Helion | Any Light DPS | Both have a large base Attack and skills that cover more than one role |
| Break | Rookey | Blazen or Minespine | Rookey raises the Break damage the enemy takes and works in any element |
| Heal | Prismana Glacy | Turbo, or base Glacy early | Glimmer Shot gives a universal damage buff at low EP and minimal field time |
| Regen | Somniwing | Besauce or Erlath | EP recovery with no downtime, plus it can delete enemy projectiles |
Used for: the whole main story, mixed-element bosses, and any fight where you do not know the weakness yet.
How to play it: open with Rookey to push the break gauge, hold Somniwing’s buff on cooldown, use Glimmer Shot before your DPS window, then unload with Lunara or Helion. If you are running Turbo instead of Prismana Glacy, you trade healing volume for shields and gain Nimbi Burst, which buffs damage and break for the whole party.
Team 2: the Lightning burst squad
Lightning is the most scripted element in the game: one unit breaks and immobilizes, one unit buffs, one returns EP, and the damage dealer lands a multi-hit finisher.
| Slot | Pick | Substitute | Why it works |
|---|---|---|---|
| DPS | Fulmintis | Fenmane | Fulmintis needs close to full EP and a stationary target for Lightning Blade Storm, and Fenmane trades burst for range |
| Break | Blazen | Any fast gauge reducer | The Lightning Flash plus Electrified Impact combo shreds the gauge, even off-element |
| Support | Luminelle | Any Lightning buffer | Arc Surge and Self-Destruction raise the party’s Lightning damage and break efficiency |
| Regen | Besauce | Somniwing | Charged Geyser refills EP quickly and Electric Dance Frenzy lowers Lightning resistance |
Used for: Lightning-weak bosses, single-target burn phases, and any enemy you can keep still.
How to play it: Blazen breaks and immobilizes first. Luminelle buffs before the window opens. Besauce refills EP and applies the resistance debuff. Only then switch to Fulmintis and spend the whole EP bar into the break window. Using Fulmintis before the target is locked down wastes the rotation, because its main skill wants a stationary enemy.
Team 3: the Water puddle squad
Water teams are terrain teams. Panpanta and Erlath create puddles, and Sherro’s damage scales when it absorbs one, so positioning is part of the rotation.
| Slot | Pick | Substitute | Why it works |
|---|---|---|---|
| DPS | Sherro | Any Water DPS | Flowing Water Slash deals more damage when it absorbs a nearby puddle |
| Break | Panpanta | Any Water breaker | Focuses on breaking and can create puddles with Water Cannon |
| Heal | Prismana Glacy | Turbo | Healing plus a universal damage buff that is not Water-locked |
| Regen | Erlath | Somniwing | Returns EP whenever anyone casts a Water skill and improves the puddle economy |
Used for: drawn-out boss fights on wet terrain, and any Water-weak target where you can hold position.
How to play it: let Erlath and Panpanta lay puddles down first, then fight from inside one. Positioning is the whole difference between a good Sherro run and a bad one, so treat the puddle as part of the team rather than as scenery.
What do the other elements look like?
| Element | DPS | Break | Support | Regen or Heal |
|---|---|---|---|---|
| Dark | Stellarys or Ignitis | Rookey | Fragrancier | Hexxin |
| Fire | Infergon | Magmarex | Prismana Glacy or Sparkelf | Flamerion |
| Ice | Glynsera | Geoclaw | Prismana Glacy | Somniwing |
| Wind | Cornet | Tubster | Tromber, or Eklue after a Tromber contract | Chirpi |
| Grass | Thornblade or Irisal | Pomawk or Tuckin | Melloblum or Leafy | Somniwing |
| Earth | Grizbo | Minespine | Bailite | Somniwing |
Wind is the exception worth flagging: the team is effectively pre-built from one family. Chirpi, Tromber and Tubster each supply one movement-series buff, and Cornet spends all three on a flying multi-hit Wind attack. If you have formed a contract with Tromber, swapping Chirpi for Eklue adds Wind damage buffs and a Wind resistance debuff on the enemy; Game8’s best teams board documents each of these lineups in full.
How should you set up a team for Operation Egg Heist?
Egg Heist is not a boss fight, so the usual four-role template needs editing. It is a PvPvE extraction run: you enter the Lost Isles, find an activated Sanctum, Twine with an egg and roll it out, collect enough Eggshell Coins to satisfy the escape condition, and deliver to the Egg Boat. Everything you carry is forfeited if you faint.
A first successful run looks like this:
| Heist requirement | Team implication | Practical pick |
|---|---|---|
| Escape condition: one egg plus an Eggshell Coin value | You need clear speed, not maximum damage | Fast Breaker plus a self-sustaining DPS |
| Rolling the egg with Twine | Mobility matters more than combat | Lunara or Helion for Hustle, plus a Tunnel user |
| Fainting forfeits backpack and equipped items | Never bring irreplaceable gear while learning | Cheap Aniipods and a Simple Backpack |
| Other player teams contest the same objectives | You need an escape tool, not a fair fight | Anything with a dash or terrain traversal |
The mode unlocks at Veteran Pathfinder according to Game8 and The Click, while a Mobalytics write-up says level 60 and a community post says level 50, so treat the rank as the safe target. The in-game Events menu also lists it under Game Modes, which means you can check the live requirement without trusting a guide. The official 23 September update notice confirms co-op runs let the Team Leader select lineup buffs before the fight, so in a group the leader’s setup choices matter as much as the individual picks. The Click keeps a separate write-up on how Aniimo co-op is structured if you want the menu-level detail.
Official source: September 23 Update Notice
The full mode walkthrough, including the Sanctum route and the Eggshell Coin shop, is on our Operation Egg Heist page. If you are still deciding which creatures to raise before your first run, the tier list covers role priority and the egg hatching guide covers how to get the units you are missing.
How do elemental and spatial counters change the lineup?
Elemental counters multiply your damage against a matching weakness, which is usually worth more than any single upgrade. Spatial counters are the defensive half: movement skills such as Tunnel let you blank ranged attacks entirely, which is why a mobile Break unit survives fights that a high-stat tank does not.
That produces a simple rule for team edits. Keep the core three, swap the DPS to match the boss element, and only swap the Break unit if the boss resists your usual one. If a fight keeps killing your DPS through healing, the answer is usually a spatial counter or a shield rather than more healing output.
What are the most common team-building mistakes?
- Four damage dealers. Symptom: skills stop firing because EP hits zero. Fix: one Regen unit at minimum, ideally Somniwing or Besauce.
- No Break unit. Symptom: long fights with no damage spike and a boss that never staggers. Fix: Rookey, because it is element-agnostic.
- Healer on the field instead of off it. Symptom: the healer spends the fight casting and your DPS never gets buffed. Fix: use off-field healers such as Prismana Glacy or Gracewing.
- One team for everything. Symptom: a Wind squad into a Wind-resistant boss. Fix: save presets, and keep the element-agnostic core so only one slot changes.
- Raising element-locked supports first. Symptom: a fully built Fragrancier that does nothing outside Dark teams. Fix: raise the universal units before the specialists.
- Bringing the good squad into Egg Heist. Symptom: a faint costs you the backpack and the equipped items. Fix: build a disposable Heist loadout and keep the main team at home.
Related
Related Articles
events
Aniimo Egg Heist Guide: Rules, Rewards and Solo Runs
How Operation Egg Heist works in Aniimo: the level 50 unlock, the Lost Sanctum egg run, the faint penalty, backpack weight and what a Prismana egg costs.
guides
Aniimo Tier List: Best Aniimo Ranked by Role (S to C)
Aniimo tier list for launch: S to C picks with reasons, what each one does for DPS, break, support and egg runs, and who to raise if you only have one.
guides
Aniimo Beginner Guide: How to Start, Rank Up and Twine
How to start Aniimo: the opening route, Pathfinder Rank and Student Level, Twine, Primegy stamina, when Egg Heist unlocks, and the mistakes to skip.
Was this helpful?
Thanks for the feedback!